Simple Outdoor Herb "Garden"
No green thumb required
I love doing little things that make my home happier and healthier. One day, my goal is to have a huge (like, football field size) garden of vegetables, fruit, squash, herbs, flowers and sprouts. Needless to say, I don’t currently have the time or space (or the green thumb) to make that happen, but I have found something that gives me that homegrown satisfaction without hours of work: potted herbs.
Growing herbs is an easy, low-maintenance way to enhance your outdoor space and have access to fresh, homegrown ingredients all summer long. If you’ve thought about growing food at home but aren’t sure where to start, this might be a great place. Just a few simple steps and you’ll be on your way!
STEP 1: SCOPE OUT A SPOT
You don’t need a ton of outdoor space to grow herbs at home, you just need an area that gets at least 4-6 hours of sun exposure a day (and ideally, 6-8 hours). It’s important to identify the space first so you know how much room you have to work with and how many and what size pots you can use. Take rough measurements of the area and bring it with you when shopping for steps 2-5 below.
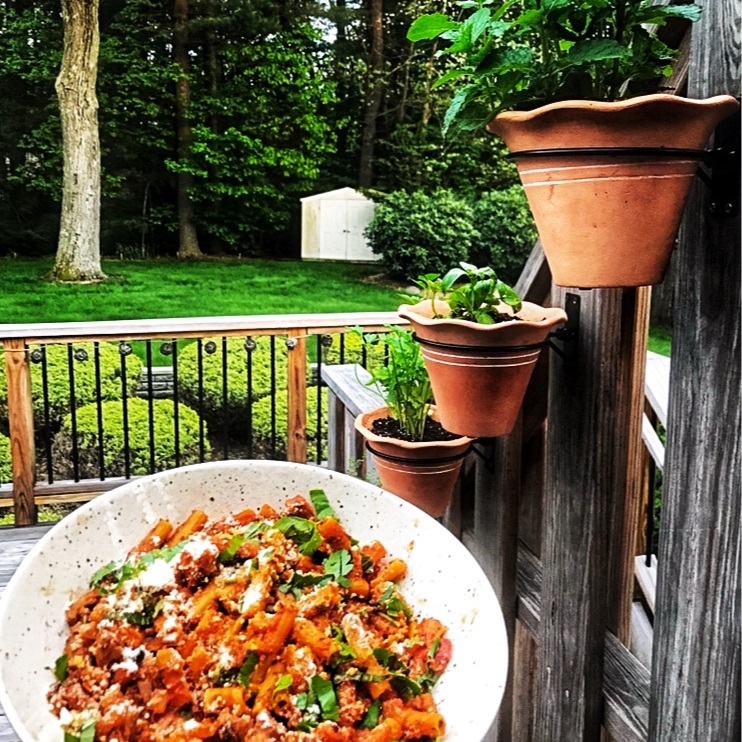
I used Crate & Barrel’s wall planter hooks to mount four scalloped terracotta pots on the side of my deck (pictured above). I love how they don’t take up any room on the deck floor and give a natural pop of color to the yard.
STEP 2: PICK YOUR HERBS
Basil, parsley, chives, mint, oregano, rosemary, thyme, lemon balm and sage are all great options to grow in pots at home. With proper care (see step #7), they’ll come back all season long. I haven’t had as much luck with cilantro and dill (which are, unfortunately, two of my favorites), but they may be worth trying if they’re high on your list. Choose 3-5 herbs that you commonly use while cooking to get started.
STEP 3: VISIT A LOCAL FARM OR GARDEN CENTER
When it comes to buying herbs, skip the home improvement store and opt for a local farm, nursery/garden center or Farmer’s market. These local sources typically have a huge variety and the herbs are likely to grow better being native to your area; not shipped from all over the country. Plus, it’s great to support your local farm/small business — win-win.
For herbs that you can start using right away, get the actual plant; not the seeds. As you can see in the picture below, you can get a quality herb plant from a local source for $5 (slightly more than the $3 plants at Home Depot or Lowe’s).
Still undecided on herbs? Ask the farmer or store owner what is doing well this year in your region based on the weather and other local factors.

STEP 4: CHOOSE A HIGH QUALITY SOIL
Selecting a high-quality potting soil is important for the PH, aeration and drainage of the herbs to help them thrive all season long. Your local farm, nursery or Farmer’s market is likely to have great soil options on-site. If not, opt for an organic potting mix like Whitney Farms Organic Potting Soil, Espoma Organic Potting Mix or Fox Farm Organic Potting Soil. T
o further enhance the quality of the soil, consider adding compost to the top (completely optional).
STEP 5: PICK YOUR POTS
The size of the pot that you choose will dictate the size and growth of the plant. Some herbs like basil and parsley do better in larger pots (12-18 inches in diameter), while chives, mint or thyme, can thrive in pots as small as six inches in diameter. Bonnie Plants has a great guide for picking the right size pot for your herbs and plants.
Also consider the material — plastic pots generally keep soil damp for longer than clay, terracotta or aluminum pots and therefore, require less frequent watering. Whichever you pick, be sure there is a hole at the bottom to drain excess water and regularly monitor the soil to ensure it is slightly damp.
Etsy, Amazon, Home Depot and Lowe’s all have a ton of different pots to chose from at various price ranges ($0.99 — $20.00+).
STEP 6: GET PLANTING!
Alright! You’ve got your herbs, your soil and your pots… now it’s time to get started!
First, fill the pot halfway with soil and gently loosen the roots at the end of the herb; maintaining the integrity of the plant. Then, insert the herb into the pot and cover with soil leaving one inch to the top of the pot. If you’ve chosen to add compost, view this guide for more information.
Next comes pruning (i.e. cutting off leaves and parts of stems). Pruning signals the herb to grow. For leafy herbs like cilantro or basil, remove any flowering or blossoming above the leaf. For woody herbs like thyme, oregano, sage and rosemary, cut back the oldest third of the plant. Do this initially right after planting, and on an ongoing basis as needed.
YouTube has a lot of great videos that demonstrate how and when to do this for each type of herb, like this video by Garden Answer on how to prune basil.
STEP 7: WATER, WATER, WATER
Immediately after planting, give the herbs a good soaking until water is dripping out of the bottom of the pot. As a best practice, water them every morning (unless there has been significant rainfall) and check back that evening to make sure the soil is still damp. If it’s not, water again.
There you have it — it’s that easy!
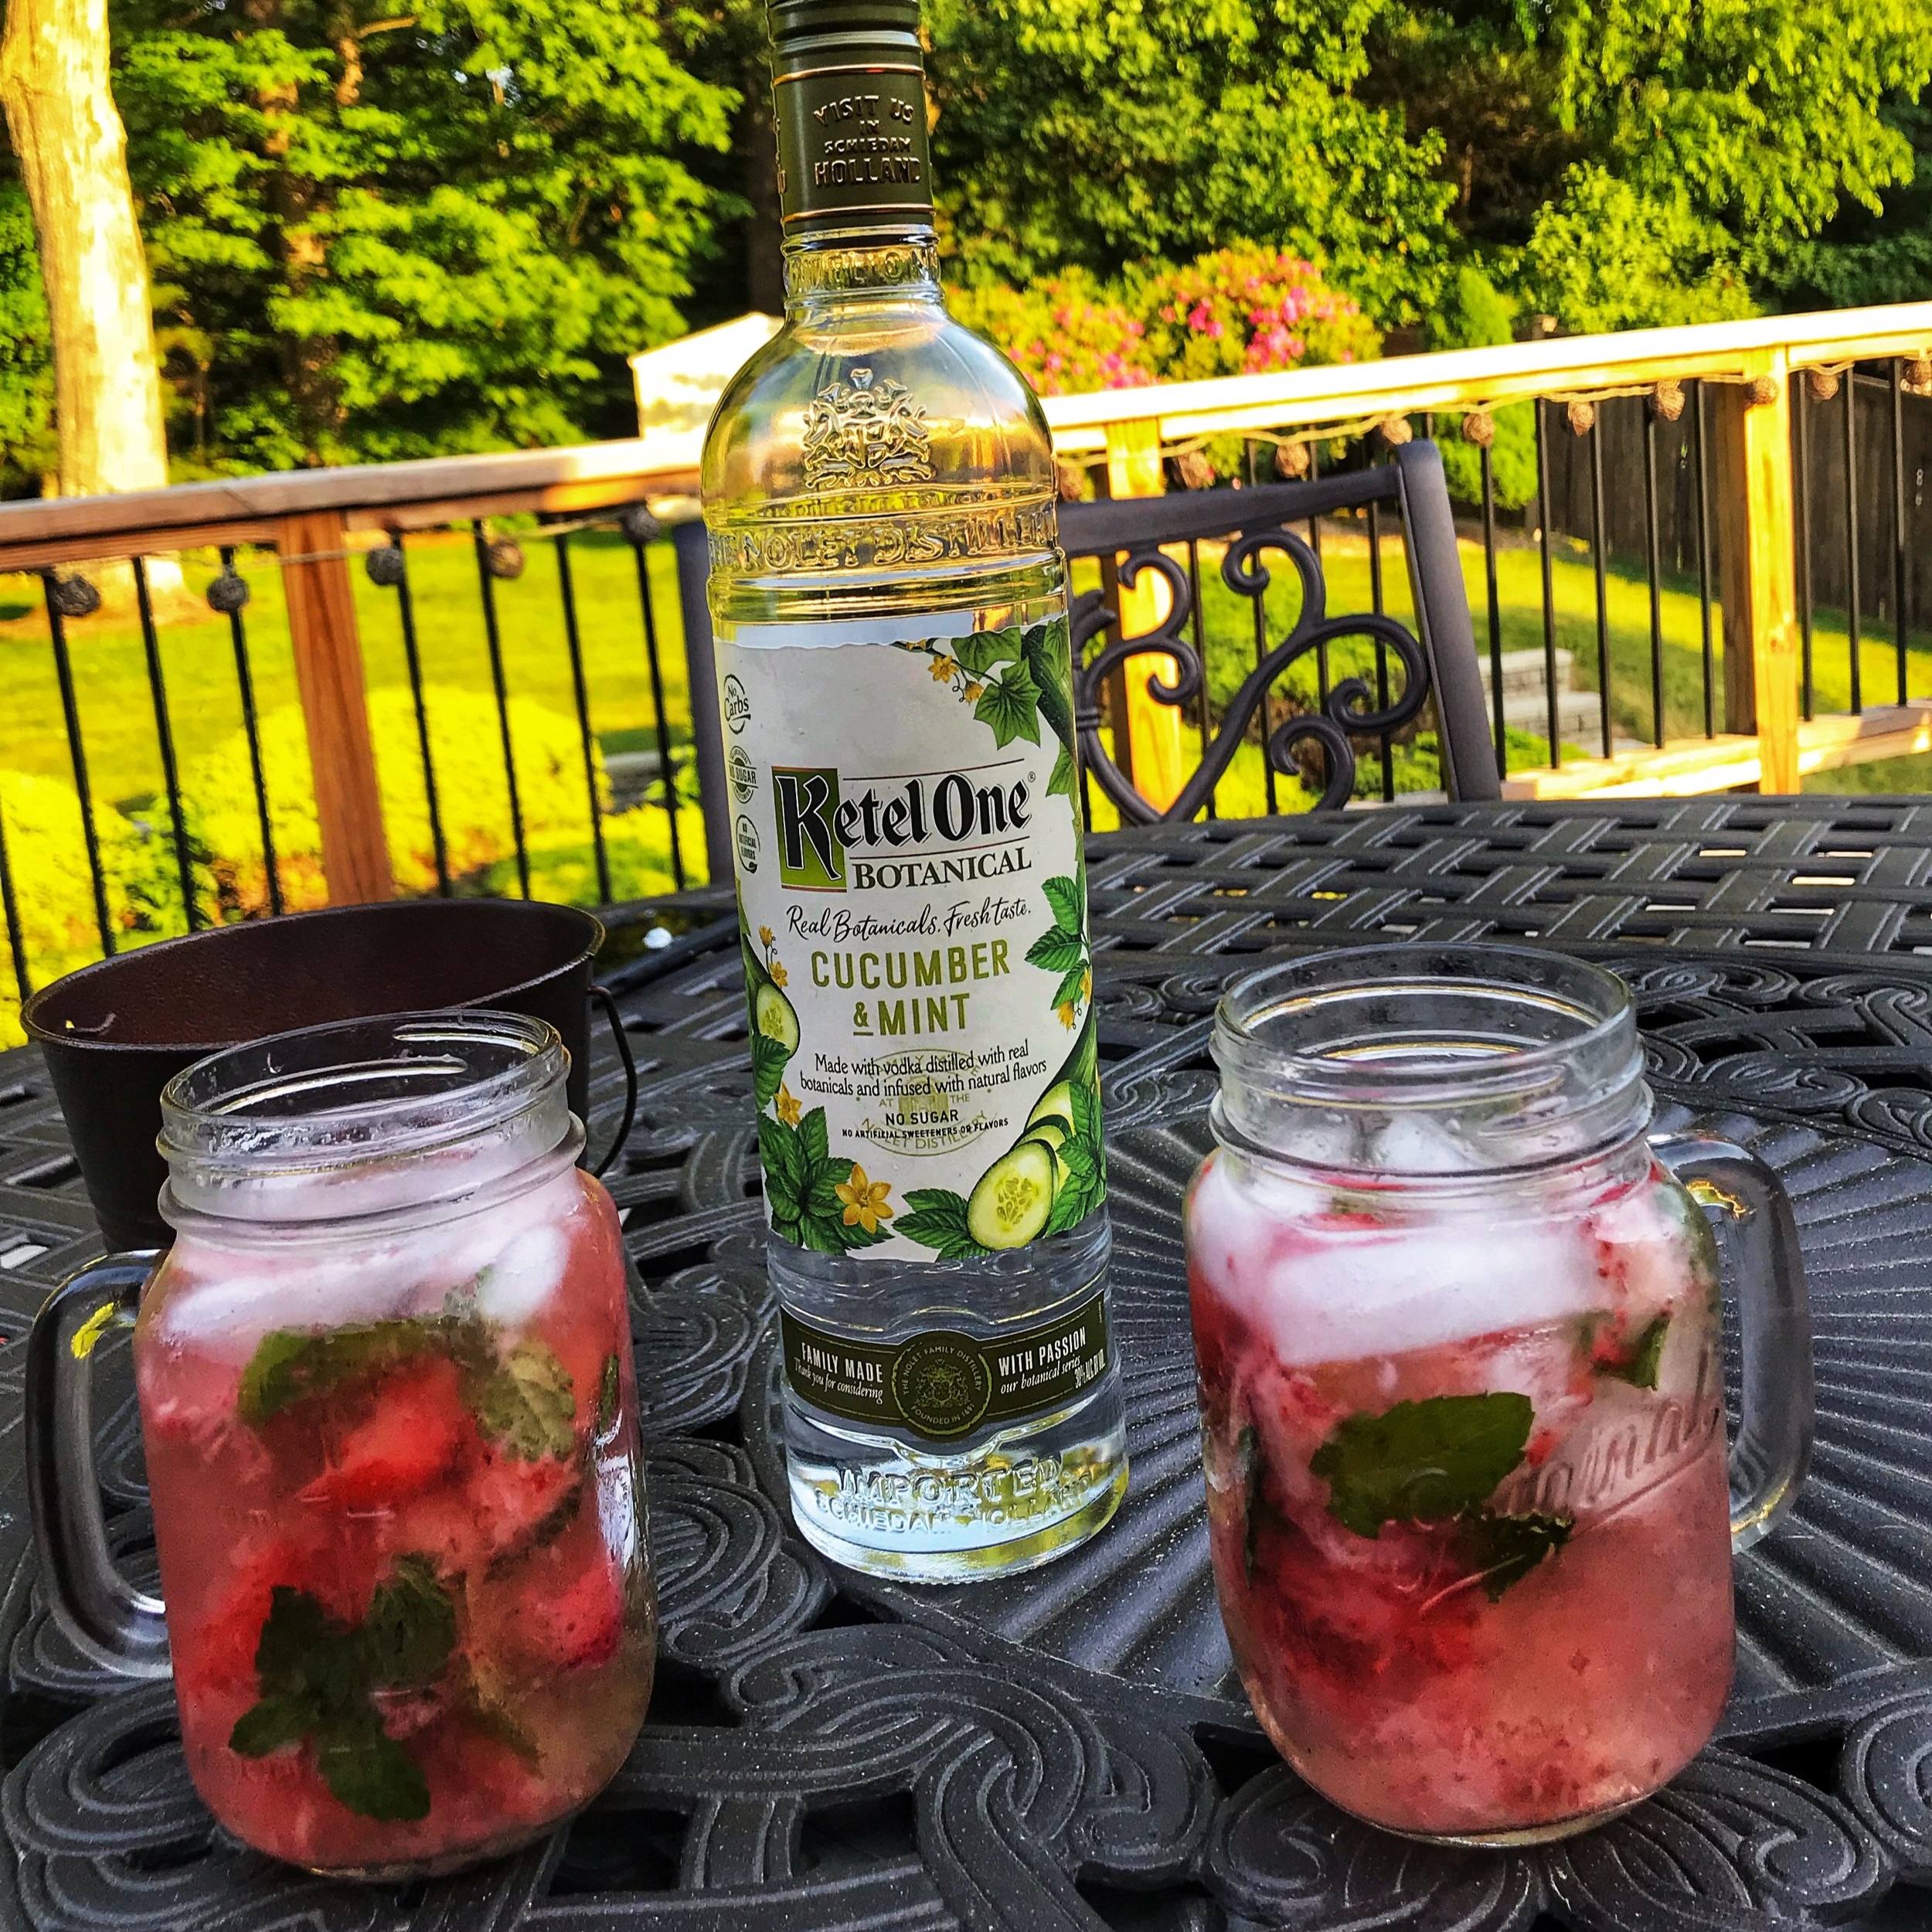
FOOD AND COCKTAIL RECIPES FOR YOUR HOMEGROWN HERBS:
I can’t wait for you to start growing your own herbs at home… I hope you enjoy it as much as I do. One of my favorite parts is experimenting with new food and cocktail recipes utilizing the herbs. Here are some links to pages full of fun and innovative recipes that will leave you feeling like a 5-star chef/mixologist:
57 Recipes with Fresh Herbs by Taste of Home
19 Recipes with Fresh Herbs by Brit + Co
Cocktail Recipes with Herbs and Spices by The Spruce Eats
20 Summer Cocktails with Fresh Herbs by Kitchn
8 Herb-Based Cocktails by The Feed Feed